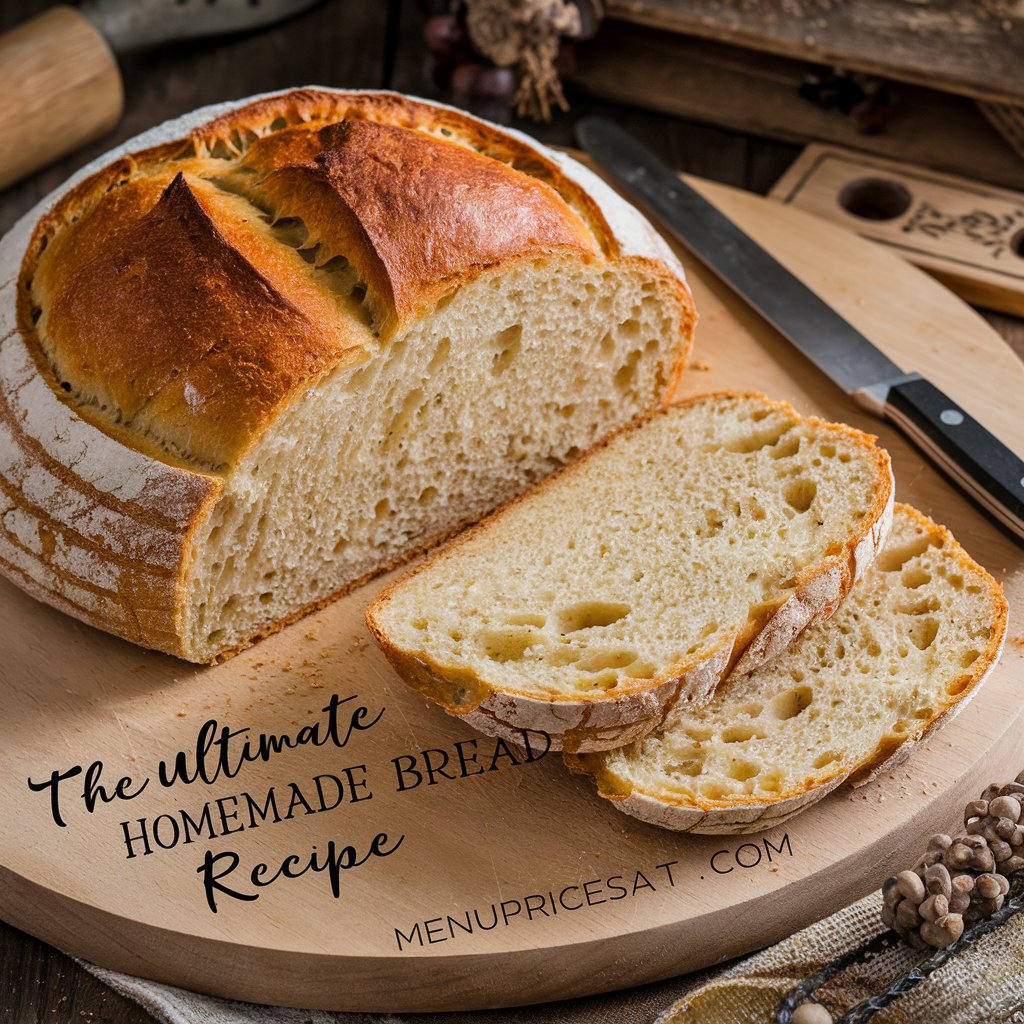
If you’ve ever wanted to make bakery-quality bread right at home, this simple yet classic recipe has got you covered. Made with only six pantry staples, this bread is versatile, beginner-friendly, and absolutely perfect for sandwiches, toasting, or just enjoying fresh from the oven with a spread of homemade jam. The beauty of this bread is not only in its delicious taste but also in how easy it is to make—even if you’re new to baking. With step-by-step guidance and a few tips to help ensure the perfect rise, your kitchen will soon smell like the best bakery in town!

One of the most fantastic things about this recipe is its adaptability: whether you choose to knead by hand, use a mixer, or even adapt it for a bread machine, you’ll achieve a soft, fluffy loaf every time. So grab your mixing bowl and let’s turn some simple ingredients into homemade goodness that will have you baking bread regularly in no time.
Key Ingredients for Success
Here are the essential ingredients you’ll need, plus a few alternatives if you prefer a slight twist. Each ingredient plays a crucial role, so following the proportions and instructions will yield the best results.
| Ingredient | Amount | Purpose |
|---|---|---|
| Warm water | 2 cups (105-115°F) | Activates the yeast |
| Active dry yeast | 1 tablespoon | Helps the dough rise |
| Sugar or honey | 1/4 cup | Feeds the yeast, adds tenderness |
| Salt | 2 teaspoons | Enhances flavor |
| Oil | 2 tablespoons | Adds moisture and softness |
| Bread or all-purpose flour | 4 – 5 1/2 cups | Forms the dough’s structure |
Tips for Choosing Ingredients:
- Water temperature is key: yeast thrives between 105°F and 115°F. Too hot, and it’ll kill the yeast; too cool, and it won’t activate fully.
- Flour choice matters! Bread flour yields a chewier loaf, while all-purpose flour offers a softer texture. If you’re in a pinch, both work well, so use what’s on hand.

Pro Tips for the Perfect Loaf
- Use fresh yeast: Active yeast is essential for a good rise. Always test your yeast by proofing it (step 1 below). If it doesn’t bubble, discard it and try again with fresh yeast.
- Control the rise time: To speed up the rise, preheat your oven to 180°F, then turn it off and place the dough inside with the oven door slightly cracked open. This warm environment helps the dough rise in about half the usual time.
- Avoid adding too much flour. The dough should be slightly sticky. Adding excess flour can lead to a dense loaf. Focus on texture rather than sticking strictly to the measured amount.

Step-by-Step Guide to Making Homemade Bread
This recipe is straightforward, requiring minimal equipment, and it doesn’t even demand a stand mixer—though using one certainly helps make the process quicker.
1. Proof the Yeast
In a large mixing bowl, add the yeast, warm water, and a pinch of sugar or honey. Let it sit for 5-10 minutes until it starts foaming and bubbling. This shows that your yeast is active and ready to use. If it doesn’t bubble, you’ll need new yeast.
2. Prepare the Dough
Add the rest of the sugar or honey, salt, oil, and about three cups of flour to the bowl. Stir to combine. Gradually add more flour, about ½ cup at a time, until the dough begins pulling away from the sides of the bowl. This means it’s well-hydrated and ready for kneading.
3. Knead the Dough
Using a stand mixer, mix for 4-5 minutes on medium speed. If kneading by hand, transfer the dough to a floured surface and knead for 5-8 minutes. You’ll know it’s ready when it’s smooth and elastic and slightly sticky to the touch. Avoid adding too much extra flour during this step.
4. First Rise
Grease a large bowl with a bit of oil, place your dough inside, and turn it to coat the dough’s surface. Cover the bowl with plastic wrap or a dish towel and set it in a warm area. Allow it to rise until doubled in size, about 1 ½ hours.
5. Punch Down and Shape
After the first rise, punch down the dough to remove air bubbles. Divide it into two equal portions, shape each into a log, and place in greased loaf pans.
6. Second Rise
Cover the pans lightly with greased plastic wrap or a towel, allowing the dough to rise until it’s about one inch above the pan’s rim. This should take roughly 45 minutes to an hour.
7. Bake to Perfection
Preheat your oven to 350°F. Bake the bread for 30-33 minutes, or until the tops are golden brown. Tap the top of the loaf; it should sound hollow when it’s done.
8. Cool and Enjoy

Transfer the baked loaves onto a cooling rack, brush the tops with butter, and allow them to cool for at least 15 minutes before slicing. Enjoy it fresh, or store it as noted below.
Storage and Freezing Tips
| Storage Method | Duration | Instructions |
|---|---|---|
| Room Temp | 2-3 days | Keep in airtight container |
| Refrigerator | Up to 5 days | Store in sealed bag |
| Freezer | Up to 3 months | Use a freezer-safe bag for best freshness |
Freezing Dough
- To freeze before the second rise: Place shaped loaves in a freezer-safe or disposable pan, cover tightly with foil, and freeze. When ready to bake, thaw and complete the second rise at room temperature (about 5 hours), then bake as usual.
Variations for Different Tastes
- Cinnamon Swirl Bread: Roll out each dough portion into a rectangle. Mix ¼ cup of sugar with 2 teaspoons of cinnamon, sprinkle on top, roll into a log, and place in the loaf pan.
- Raisin Bread: Add 2 cups of raisins to the dough in step 2.
- Whole Wheat or Multigrain: Use whole wheat or a blend of multigrain flour in place of some all-purpose flour.
Equipment Recommendations
A stand mixer simplifies kneading but isn’t necessary. You can knead by hand or even adapt this recipe for a bread machine, though you may need to halve the recipe depending on the machine’s capacity.
Uses for Leftover Bread
Homemade bread can dry out after a few days, so here are some creative ways to use it:
- French Toast or Bread Pudding for a delicious breakfast.
- Bread Crumbs: Once dry, pulse slices in a food processor for bread crumbs.
- Stuffing: Cut the bread into cubes, dry completely, and use it in your favorite stuffing recipe.
With this guide, you’re equipped to bake delicious homemade bread that’s sure to impress. Whether enjoyed fresh or used in one of the above variations, this bread will quickly become a family favorite. Now that you know the tricks and methods to perfect each loaf, you can bring the warmth and flavor of freshly baked bread into your home whenever you wish.
