Heavenly Homemade Vanilla Ice Cream: Creamy, Dreamy, and Irresistible!
There’s nothing quite like the taste of homemade ice cream to evoke feelings of summertime bliss and nostalgia. And when it comes to flavors, classic vanilla is a timeless favorite that never goes out of style. In this article, we’ll walk you through the process of making your very own heavenly homemade vanilla ice cream, complete with tips and tricks for achieving that creamy, dreamy texture that’ll leave you and your loved ones begging for more.
The Magic of Homemade Vanilla Ice Cream
Store-bought ice cream can be a convenient treat, but let’s face it: it often pales in comparison to the real deal. Homemade vanilla ice cream is made with love and care, using only the finest ingredients to create a truly unique and indulgent experience. With your own two hands, you can craft a flavor that’s tailored to your tastes, from the sweetness level to the consistency. And let’s not forget the joy of sharing your handiwork with family and friends – there’s no better way to show you care than with a spoonful of creamy goodness!
What You’ll Need: A List of Essential Ingredients
Before we dive into the nitty-gritty of making your heavenly homemade vanilla ice cream, let’s take a look at the ingredients you’ll need to have on hand. Don’t worry – this list is relatively short and sweet!
- 2 cups (480ml) heavy cream
- 1 cup (240ml) whole milk
- ¾ cup (150g) granulated sugar
- 1 vanilla bean (or 2 tsp pure vanilla extract)
- 4 large egg yolks
- A pinch of salt
Preparing the Vanilla Base: A Delicate Dance of Cream and Sugar
Now that you’ve got your ingredients at the ready, it’s time to begin preparing the vanilla base – the foundation of your heavenly homemade ice cream. In a medium-sized saucepan, combine your heavy cream, milk, and half of the sugar. Yes, you read that right – half the sugar! This will ensure that your ice cream base isn’t too sweet, while still maintaining that perfect balance of flavors.
Whisking the Egg Yolks: A Labor of Love
While your vanilla base is busy steeping away, it’s time to turn your attention to the egg yolks – a crucial component of your ice cream’s creamy texture. In a medium-sized bowl, whisk together your egg yolks, remaining sugar, and a pinch of salt until pale and creamy. Yes, it’s a bit of a workout for your arm, but trust us – the end result will be well worth it!
Tempering the Eggs: A Delicate Art
Now that your egg yolks are nice and smooth, it’s time to temper them with the warm vanilla base. Don’t worry if you’re not familiar with tempering – it’s actually quite simple! Slowly drizzle a small amount of the warm cream mixture into the yolks while whisking constantly. This will prevent the eggs from scrambling, which would result in an unpleasant texture. Once you’ve added the initial amount of cream, gradually pour the remaining mixture into the yolks, whisking until fully incorporated.
Cooking the Custard: The Final Act
Carefully pour the egg yolk mixture back into the saucepan with the vanilla base, stirring to combine. Now, it’s time to cook the custard – the final act in the making of your heavenly homemade vanilla ice cream. Stir the mixture over low heat until it thickens and coats the back of a spoon (this should take around 5-7 minutes, or until it reaches 170-175°F or 77-80°C on a candy thermometer). Remove the saucepan from the heat and carefully strain the custard through a fine-mesh sieve to remove the vanilla pod and any lumps.
Chilling the Mixture: The Waiting Game
Now that your custard is cooked and strained, it’s time to let it cool down to room temperature. This might be the hardest part of the entire process – waiting! Once cooled, cover the mixture and refrigerate it for at least 4 hours or overnight (the longer, the better!). This will allow the flavors to meld together and the mixture to chill, resulting in a smooth and creamy texture.
Churning to Perfection: The Moment of Truth
The moment of truth has finally arrived – it’s time to churn your heavenly homemade vanilla ice cream! Pour the chilled mixture into an ice cream maker, following the manufacturer’s instructions for churning time. Depending on the machine, this could take anywhere from 20-30 minutes, but the end result will be well worth the wait.
Freezing and Enjoying: The Grand Finale
Transfer your churned ice cream to an airtight container, taking care to eliminate any air pockets. Cover the container and place it in the freezer, where it will chill for at least 4 hours before it’s ready to be devoured. And when the time finally comes, grab a spoon and indulge in the creamy, dreamy taste of your very own heavenly homemade vanilla ice cream!
Tips and Tricks for the Ultimate Ice Cream Experience
- Swap Heavy Cream for Half-and-Half: If you’re looking for a lighter version of your heavenly homemade vanilla ice cream, try swapping the heavy cream for half-and-half. This will result in a slightly less rich and creamy texture, but still plenty delicious!
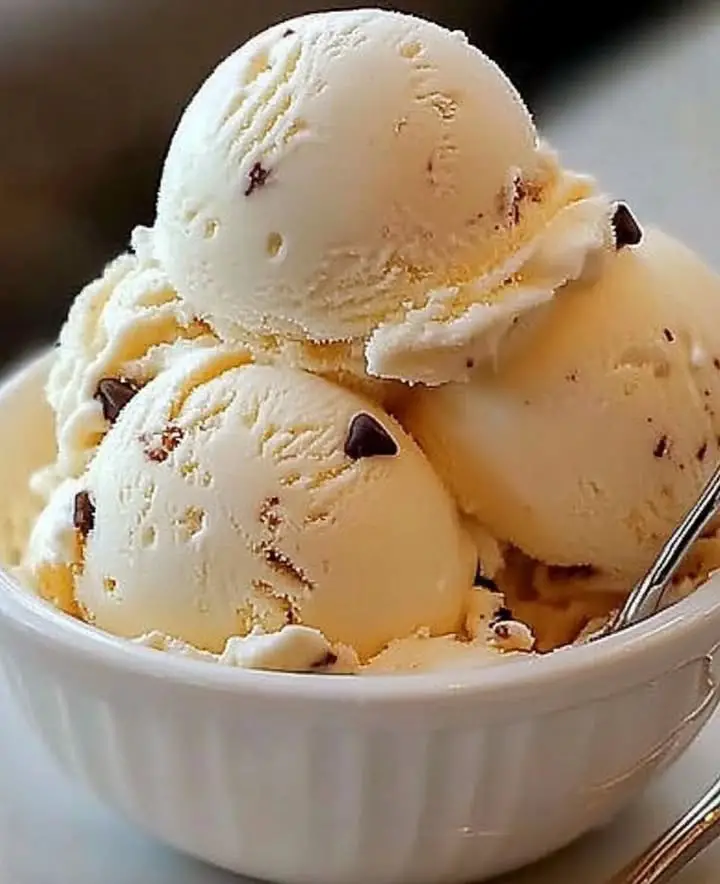
- Add Mix-ins for Extra Flavor: Add chocolate chips, cookie crumbles, or fruit to the mixture during the last few minutes of churning for an extra burst of flavor and fun!
- No Ice Cream Maker? No Problem!: If you don’t have an ice cream maker, don’t worry – you can still enjoy that heavenly homemade taste! Simply freeze the churned mixture in a shallow dish, stirring every 30 minutes for 2-3 hours to break up ice crystals.
And there you have it – the ultimate guide to making your very own heavenly homemade vanilla ice cream! Whether you’re a seasoned pro or a newcomer to the world of ice cream making, this recipe is sure to please. So grab a spoon, take a taste, and indulge in the creamy, dreamy goodness of your very own creation.
Happy churning, and don’t forget to share your heavenly homemade vanilla ice cream creations with friends and family – they’re sure to be impressed!