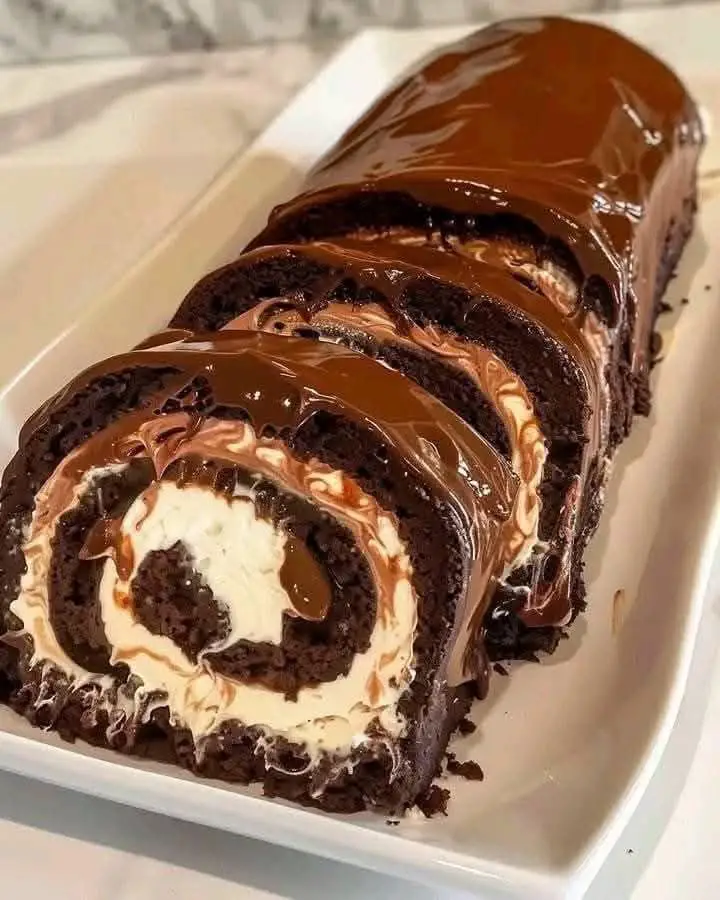
Indulge in the rich, chocolatey goodness of this Chocolate Cake Roll—a light and fluffy sponge cake wrapped around a creamy filling and topped with a luscious chocolate ganache. This elegant dessert is perfect for special occasions or whenever you’re craving a homemade treat.
Ingredients
For the Cake
- ¾ cup all-purpose flour
- ¼ cup unsweetened cocoa powder
- 1 tsp baking powder
- ¼ tsp salt
- 4 large eggs
- ¾ cup granulated sugar
- 1 tsp vanilla extract
- 2 tbsp vegetable oil
- ¼ cup powdered sugar (for rolling)
For the Filling
- 1 cup heavy whipping cream
- ¼ cup powdered sugar
- 1 tsp vanilla extract
For the Topping
- 1 cup semi-sweet chocolate chips
- ½ cup heavy cream
Instructions
1. Make the Cake
Preheat and Prepare the Pan
Preheat your oven to 350°F (175°C). Grease a 10×15-inch jelly roll pan and line it with parchment paper. This will help ensure the cake releases smoothly after baking.
Mix the Dry Ingredients
In a medium-sized bowl, sift together the flour, cocoa powder, baking powder, and salt. Sifting helps aerate the dry ingredients, making the cake light and fluffy.
Beat the Eggs and Sugar
In a large bowl, use a hand mixer or stand mixer to beat the eggs and granulated sugar on high speed for about 5 minutes, until the mixture becomes thick, pale, and fluffy. This step is essential for incorporating air into the batter, giving the cake its soft texture.
Combine Wet and Dry Ingredients
Gently mix in the vanilla extract and vegetable oil. Gradually fold in the dry ingredients using a spatula, making sure not to deflate the batter. Stir until just combined—overmixing can make the cake dense.
Bake the Cake
Pour the batter into the prepared jelly roll pan, spreading it evenly. Bake for 10-12 minutes, or until the top of the cake springs back when lightly touched.
Roll the Cake
While the cake is still hot, dust a clean kitchen towel with powdered sugar. Carefully turn the cake out onto the towel and peel off the parchment paper. Starting from the short end, roll the cake with the towel to prevent cracking. Let it cool completely while rolled.
2. Prepare the Filling
Whip the Cream
In a large mixing bowl, whip the heavy whipping cream, powdered sugar, and vanilla extract until stiff peaks form. This should take about 2-3 minutes with an electric mixer.
Fill the Cake
Gently unroll the cooled cake and spread the whipped cream filling evenly over the surface. Roll the cake back up without the towel, ensuring the seam is on the bottom. Transfer it to a serving platter.
3. Make the Chocolate Topping
Prepare the Ganache
Heat the heavy cream in a small saucepan over medium heat until it just begins to simmer—do not let it boil. Pour the hot cream over the chocolate chips in a bowl. Let it sit for 2 minutes, then whisk until smooth and glossy.
Glaze the Cake Roll
Pour the ganache over the rolled cake, spreading it evenly over the top and sides for a rich, chocolatey finish.
4. Serve and Enjoy
Refrigerate the cake roll for at least 1 hour before slicing. This allows the filling to set and enhances the flavor.
For a decorative touch, garnish with:
- A dusting of powdered sugar
- Fresh berries (strawberries, raspberries, or blueberries)
- Chocolate shavings or curls
Slice and serve this delightful Chocolate Cake Roll for a crowd-pleasing dessert that’s both beautiful and delicious!
Tips for a Perfect Cake Roll
✔ Don’t Overbake – A dry cake will crack when rolled, so check for doneness by lightly pressing the surface. If it bounces back, it’s ready.
✔ Use a Kitchen Towel for Rolling – A dusted towel prevents the cake from sticking and helps maintain its shape while cooling.
✔ Work Quickly – Roll the cake while it’s still warm to avoid cracks. If it cools flat, it may be harder to shape later.
✔ Chill Before Slicing – Cooling the cake before cutting helps keep the filling firm and prevents it from squishing out.
This Chocolate Cake Roll is a showstopping dessert that’s surprisingly easy to make. Whether for holidays, birthdays, or a sweet treat, it’s guaranteed to impress! Enjoy your homemade creation!