Indulge in the Decadence of Chocolate Forest Cake
A Rich and Creamy Masterpiece to Satisfy Your Chocolate Cravings
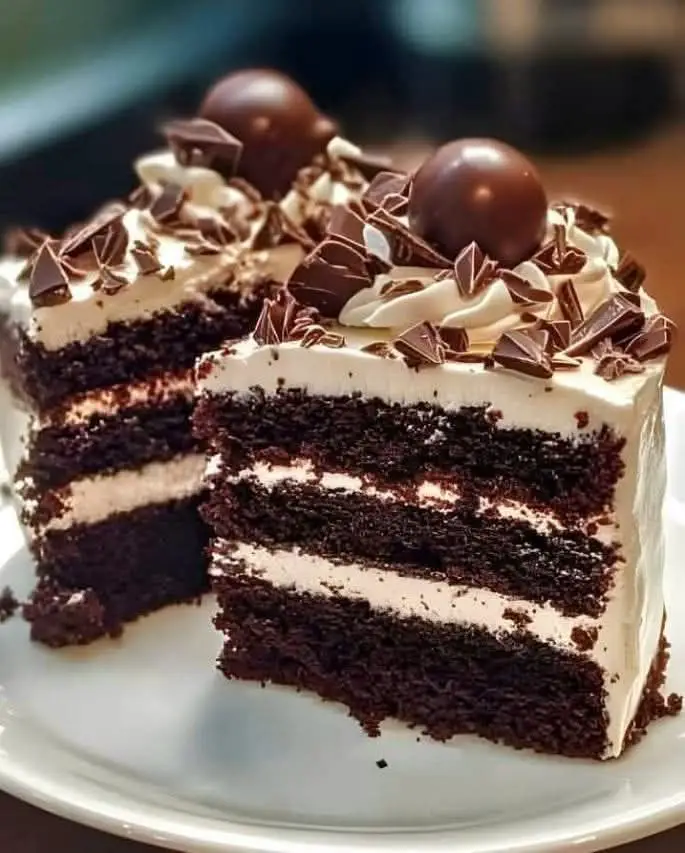
Are you ready to take your taste buds on a journey through a luscious forest of chocolate? Look no further than the Chocolate Forest Cake, a moist and decadent dessert that combines the richness of dark chocolate with the sweetness of cherries and the fluffiness of whipped cream. In this article, we’ll take you through the process of creating this masterpiece, from preparing the chocolate sponge cake to assembling the finished cake.
The Story Behind the Chocolate Forest Cake
The Chocolate Forest Cake is a classic dessert that originated in Europe, where rich, dense cakes were a staple of traditional baking. The name “forest cake” comes from the German word “Schwarzwälder Kirschtorte,” which literally means “Black Forest cherry torte.” This dessert was traditionally made with sour cherries, whipped cream, and chocolate, giving it a unique flavor and texture that quickly gained popularity across Europe.
Ingredients and Equipment Needed
Before we dive into the instructions, let’s take a look at the ingredients and equipment needed to make this cake:
**For the Chocolate Sponge Cake:**
* 1 ½ cups all-purpose flour
* 1 ½ tsp baking powder
* ¼ cup unsweetened cocoa powder
* ½ tsp salt
* ½ cup unsalted butter, room temperature
* 1 cup granulated sugar
* 3 large eggs
* 1 tsp vanilla extract
* ½ cup whole milk
**For the Cherry Filling:**
* 2 cups fresh or frozen cherries, pitted
* ½ cup granulated sugar
* 1 tbsp cornstarch
* 2 tbsp water
* 1 tbsp lemon juice
**For the Whipped Cream:**
* 2 cups heavy cream
* ¼ cup powdered sugar
* 1 tsp vanilla extract
**For Decoration:**
* Dark chocolate curls
**Equipment:**
* 2 8-inch round cake pans
* Oven
* Stand mixer or hand mixer
* Whisk
* Saucepan
* Strainer
* Refrigerator
Preparing the Chocolate Sponge Cake
The first step in making the Chocolate Forest Cake is to prepare the chocolate sponge cake. Here’s how:
Step 1: Preheat the Oven and Prepare the Pans
Preheat your oven to 350°F (175°C). Grease two 8-inch round cake pans and line the bottoms with parchment paper.
Step 2: Whisk Together the Dry Ingredients
In a medium-sized bowl, whisk together the flour, baking powder, cocoa powder, and salt.
Step 3: Beat the Butter and Sugar
In a large bowl, beat the butter and sugar until light and fluffy. This should take about 2-3 minutes with a stand mixer or 5-7 minutes with a hand mixer.
Step 4: Add the Eggs and Vanilla
Add the eggs one at a time, beating well after each addition. Beat in the vanilla extract.
Step 5: Alternate the Flour Mixture and Milk
Gradually add the flour mixture, alternating with the milk, beginning and ending with the flour mixture. Beat until just combined.
Step 6: Divide the Batter Evenly
Divide the batter evenly between the prepared pans.
Step 7: Bake the Cakes
Bake the cakes for 25-30 minutes or until a toothpick inserted into the center comes out clean. Let the cakes cool completely in the pans.
Preparing the Cherry Filling
The cherry filling is an essential component of the Chocolate Forest Cake, providing a sweet and tangy contrast to the rich chocolate. Here’s how to make it:
Step 1: Cook the Cherries and Sugar
In a saucepan, combine the cherries and sugar over medium heat. Cook until the cherries release their juices, stirring occasionally.
Step 2: Thicken the Mixture with Cornstarch
In a small bowl, mix the cornstarch with water. Add the cornstarch mixture to the cherries and cook until the mixture thickens, stirring constantly.
Step 3: Stir in the Lemon Juice
Stir in the lemon juice and let the filling cool completely.
Assembling the Cake
Now that we have the chocolate sponge cake and cherry filling ready, it’s time to assemble the cake.
Step 1: Place One Cake Layer on a Serving Plate
Place one cake layer on a serving plate or cake stand.
Step 2: Spread the Cherry Filling
Spread the cherry filling evenly over the top of the cake layer, leaving a ½-inch border around the edges.
Step 3: Top with the Second Cake Layer
Place the second cake layer on top of the cherry filling.
Step 4: Cover with Whipped Cream
Cover the entire cake with whipped cream, using a piping bag or spatula to smooth out the top.
Step 5: Decorate with Dark Chocolate Curls
Decorate the top of the cake with dark chocolate curls, using a sharp knife or chocolate curler to create the curls.
Step 6: Refrigerate the Cake
Refrigerate the cake for at least 30 minutes to allow the flavors to meld together.
Tips and Variations
Here are a few tips and variations to help you make the most of your Chocolate Forest Cake:
* Use fresh or frozen cherries: While canned cherries will work in a pinch, fresh or frozen cherries provide a superior flavor and texture.
* Don’t overmix the batter: Overmixing the batter can result in a dense, tough cake. Mix the ingredients just until they come together, then stop mixing.
* Use high-quality chocolate: Dark chocolate curls are essential to theChocolate Forest Cake’s rich, intense flavor. Use high-quality dark chocolate for the best results.
* Make ahead: The cake can be made ahead of time and refrigerated for up to 24 hours. Allow the cake to come to room temperature before serving.
Conclusion
The Chocolate Forest Cake is a rich, decadent dessert that’s perfect for special occasions or everyday indulgence. With its moist, chocolatey sponge cake, sweet and tangy cherry filling, and fluffy whipped cream, this cake is a true showstopper. We hope this article has inspired you to create your own Chocolate Forest Cake masterpiece.
—
By following these instructions and using the highest-quality ingredients, you’ll be well on your way to creating a chocolatey, creamy, and utterly divine cake that will impress even the most discerning palates.